
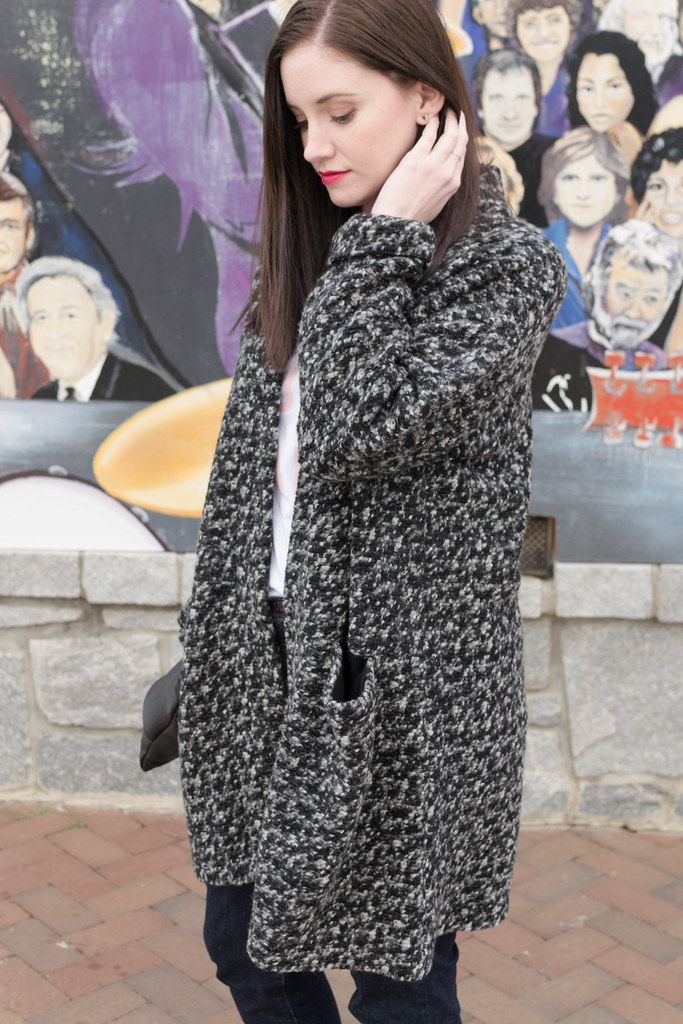
Or, as my fiancé likes to call it, the “magic eye” coatigan haha (He noticed the similarity when shooting the back view)
Disclosure: This post was originally published on the Cali & Co blog (though fit notes and pattern changes have now been added. To skip the text and go straight to those, click here). This fabric was purchase using my Cali blogger allowance.
You know one of the things I love most about sewing? I’ve all but completely stopped paying attention to fashion “guidelines” and trends! I’ve canceled my fashion magazine subscriptions and now, I get most of my inspiration from fabric, pattern releases, other sewists, and the odd fashion blogger. I make and wear only what I really want, regardless of shape, style, season, or what others say I should. Just whatever strikes my fancy.
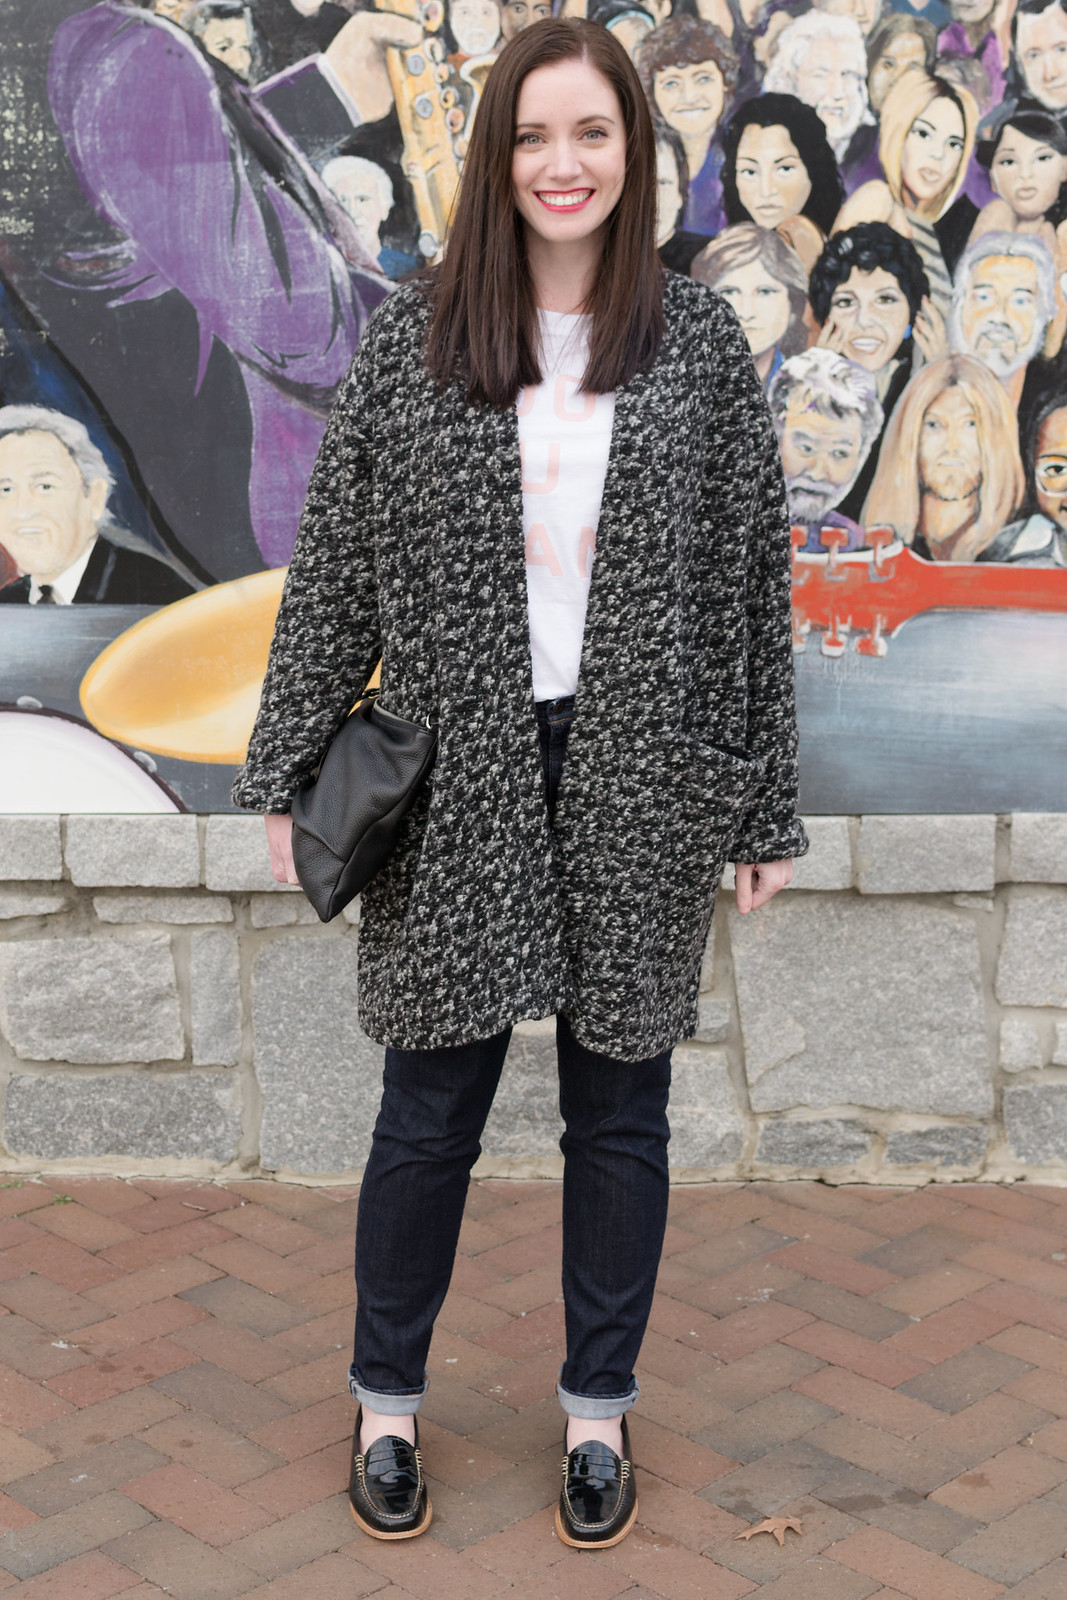
This item in particular is something that is rather out of my comfort zone: it’s super oversized silhouette and bulky fabric don’t “suit” my pear shape and is just the sort of thing magazines would probably tell me to run far away from. But, there was just no resisting this fabric once I saw it on the site. And, once it arrived, it told me it needed to be an amazing coatigan*. Knowing Named wouldn’t disappoint, I decided to finally give Esme a go.
As I’d only ordered two yards, and the pattern calls for 3, I first had to remove 11″ from the length, then I played a bit of pattern tetris. And let me tell you, I used every available inch of length! Seriously, the first and last pieces grazed the very edges.
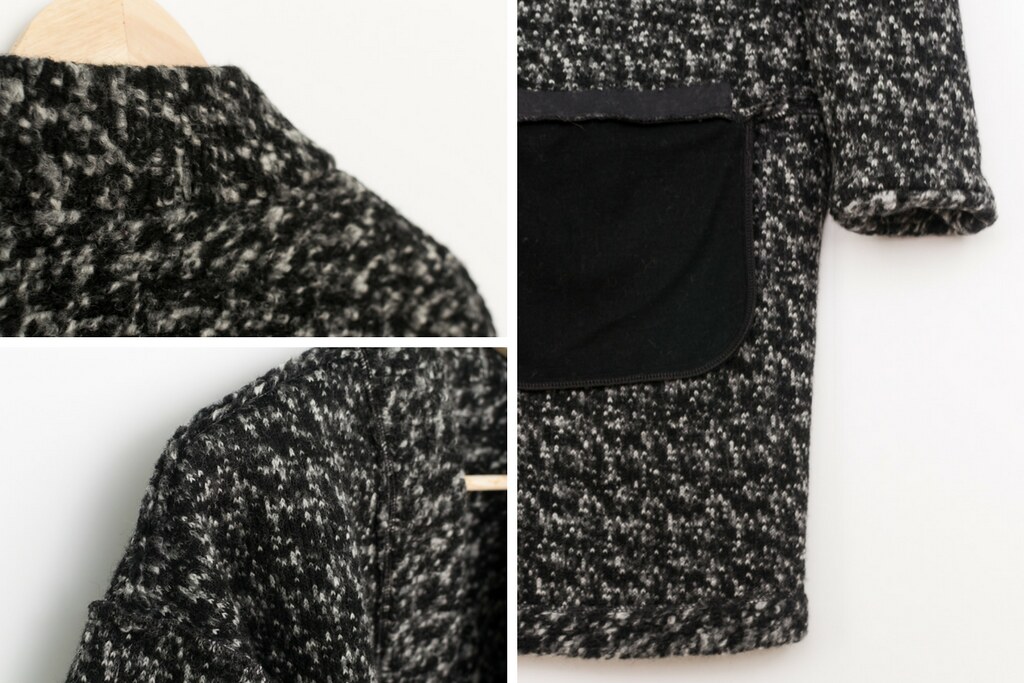
From there, it was fairly smooth sailing, despite the bulkiness of the fabric. It came together in roughly two afternoons, which isn’t bad at all for one of my projects. I did use a bump jumper a few times and I found it easiest to drop the feed dogs when sliding the fabric under the presser foot, but the fabric was relatively stable and sewed up well. (And it pressed well, even with 3/8″ allowances, which was a plus.) The only change I made to the construction due to the bulkiness was the bit about turning under the seam allowance for the button band facing. Doing so would have been far too thick, so instead I serged the edge and captured it by stitching in the ditch. Oh! and I omitted the buttons because the idea of putting buttonholes in a knit boucle was far from appealing, but I was never going to use them on a cardigan like this anyway.
Now, to be perfectly honest, when I finished the coatigan, I laid it out on my sewing table and was shocked by just how large the finished product was! Then, at the request of my fiance I tried it on. Want a helpful tip? Do NOT try on a garment like this over pajamas! Yep, I was wearing flannel bottoms when he insisted I model it and it looked like a [cozy] bathrobe! But, when you enjoy blogging about your sewing projects, you tend to decide to share all finished garments, wins and fails, so I figured I pair it with a tee and jeans and we’d all have a bit of a laugh at my new faux robe. But, when I saw it over day clothes, it looked a lot better (shocking, I know!). And while actually wearing it in public, I didn’t get any funny looks, so it must pass for acceptable, right? In fact, if I’m not mistaken, this sort of thing is rather on trend in some fashion circles, so despite the fact that I don’t follow them, I seemed to have fallen into one anyway (even if it’s one I would have avoided if I was still listening to those “experts”).
Funny how that happens sometimes, isn’t it?
Fit Notes & Pattern Tweaks:
- Blended from a size 42 in the upper bodice to a 44 at the hip, which were the recommended sizes, based on my measurements
- Shortened the hem by 11" to (just) fit on the available yardage
- Note: Despite being 5'10" (177cm) tall, I did not lengthen the sleeves. Just something to keep in mind.
- Serged the inner edge of the button band facing, rather than turning it under, to cut down on bulk
- Omitted the buttons because I expect to always wear it open (and the fiancé says its more stylish and flattering that way anyway)
And how about a few tips for working with a fabric like this? (This was a bit learn-as-you-go for me, so I thought I'd share what I worked out):
- I alternated between rotary cutter and scissors when cutting this out. Each piece was different, so I actually don't have a recommendation, other than have both on hand and see what you prefer for which cuts ;)
- Drop your feed dogs when sliding the fabric under the presser foot to prevent it from catching. Then raise them again once the fabric is aligned correctly.
- Use tear-away stabilizer to start seams, like you would with a delicate fabric. Ask me how I figured that out haha
- Use a hump-jumper as needed (for me, this was during the pockets and when hemming)
- Serge edges where possible to minimize fraying, but...
- Use a woolly nylon in the loopers to preserve stretch and avoid adding too much stiffness
- This fabric was a bit sheddy during the process, which actually concerned me as I have sensitive skin; but, an extra tumble in the steam-cycle on my dryer at the end of the project made the coatigan really soft and even wearable on bare skin - win!! :D
Happy sewing! x
*I’m going with coatigan because the shape and thickness of the wool definitely makes it feel more like a coat.

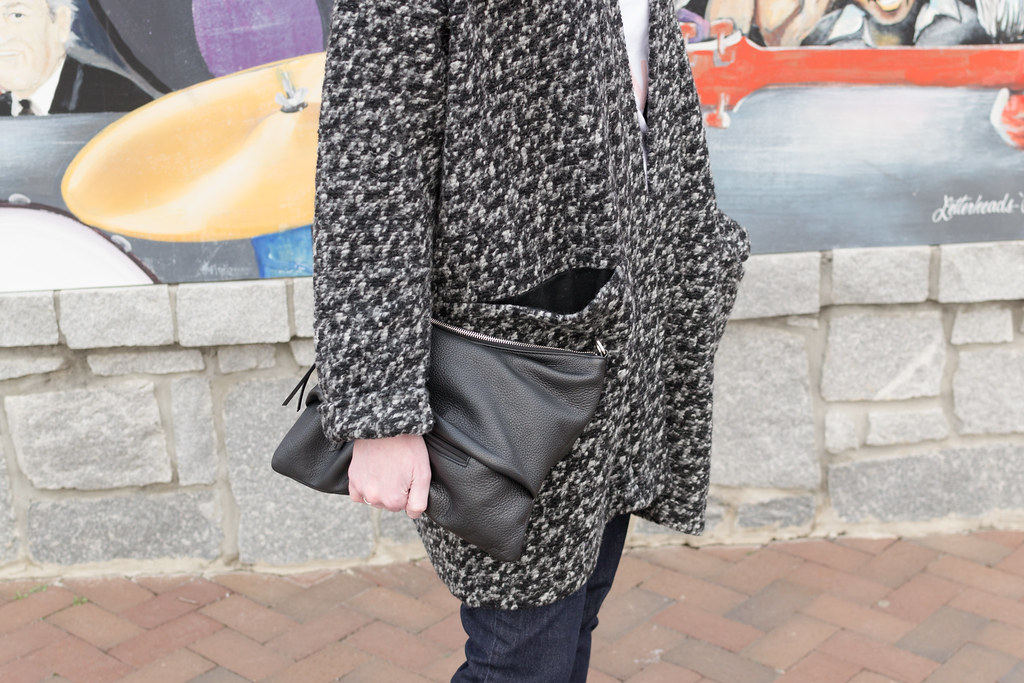
Coatigan: Esme in Mottled Wool Bouclé // Tee: Everlane // Jeans: Gap // Bag: Sanctuary (out of stock) // Shoes: Bass
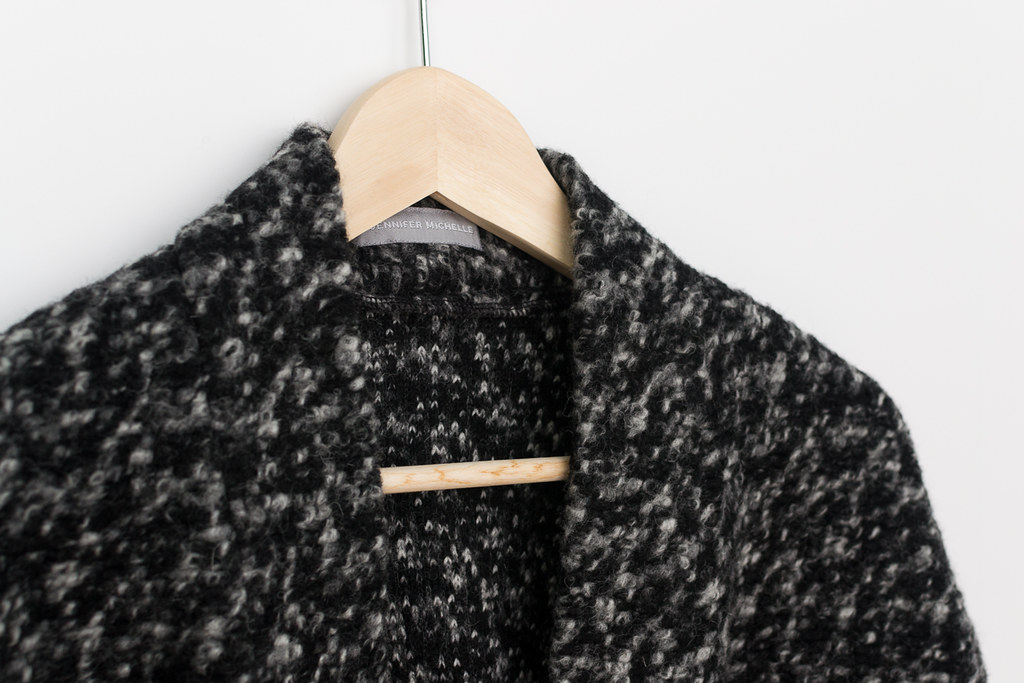
Fabric: c/o Cali Fabrics // Label: Wunderlabel* (affiliate link)


Just claiming my new domain, but if you don't already, click here to Follow my blog with Bloglovin


No comments:
Post a Comment
Let's keep the conversation going! Feel free to comment below or on Instagram!
If you want to comment without linking to your profile (or if you don't have an account), please choose "Name/URL" from the drop-down and leave your first name (website optional) so I know who I'm responding to. I can't wait to read your feedback! x